


Acrylic Cup Topper Kit
Acrylic Cup Topper Kit
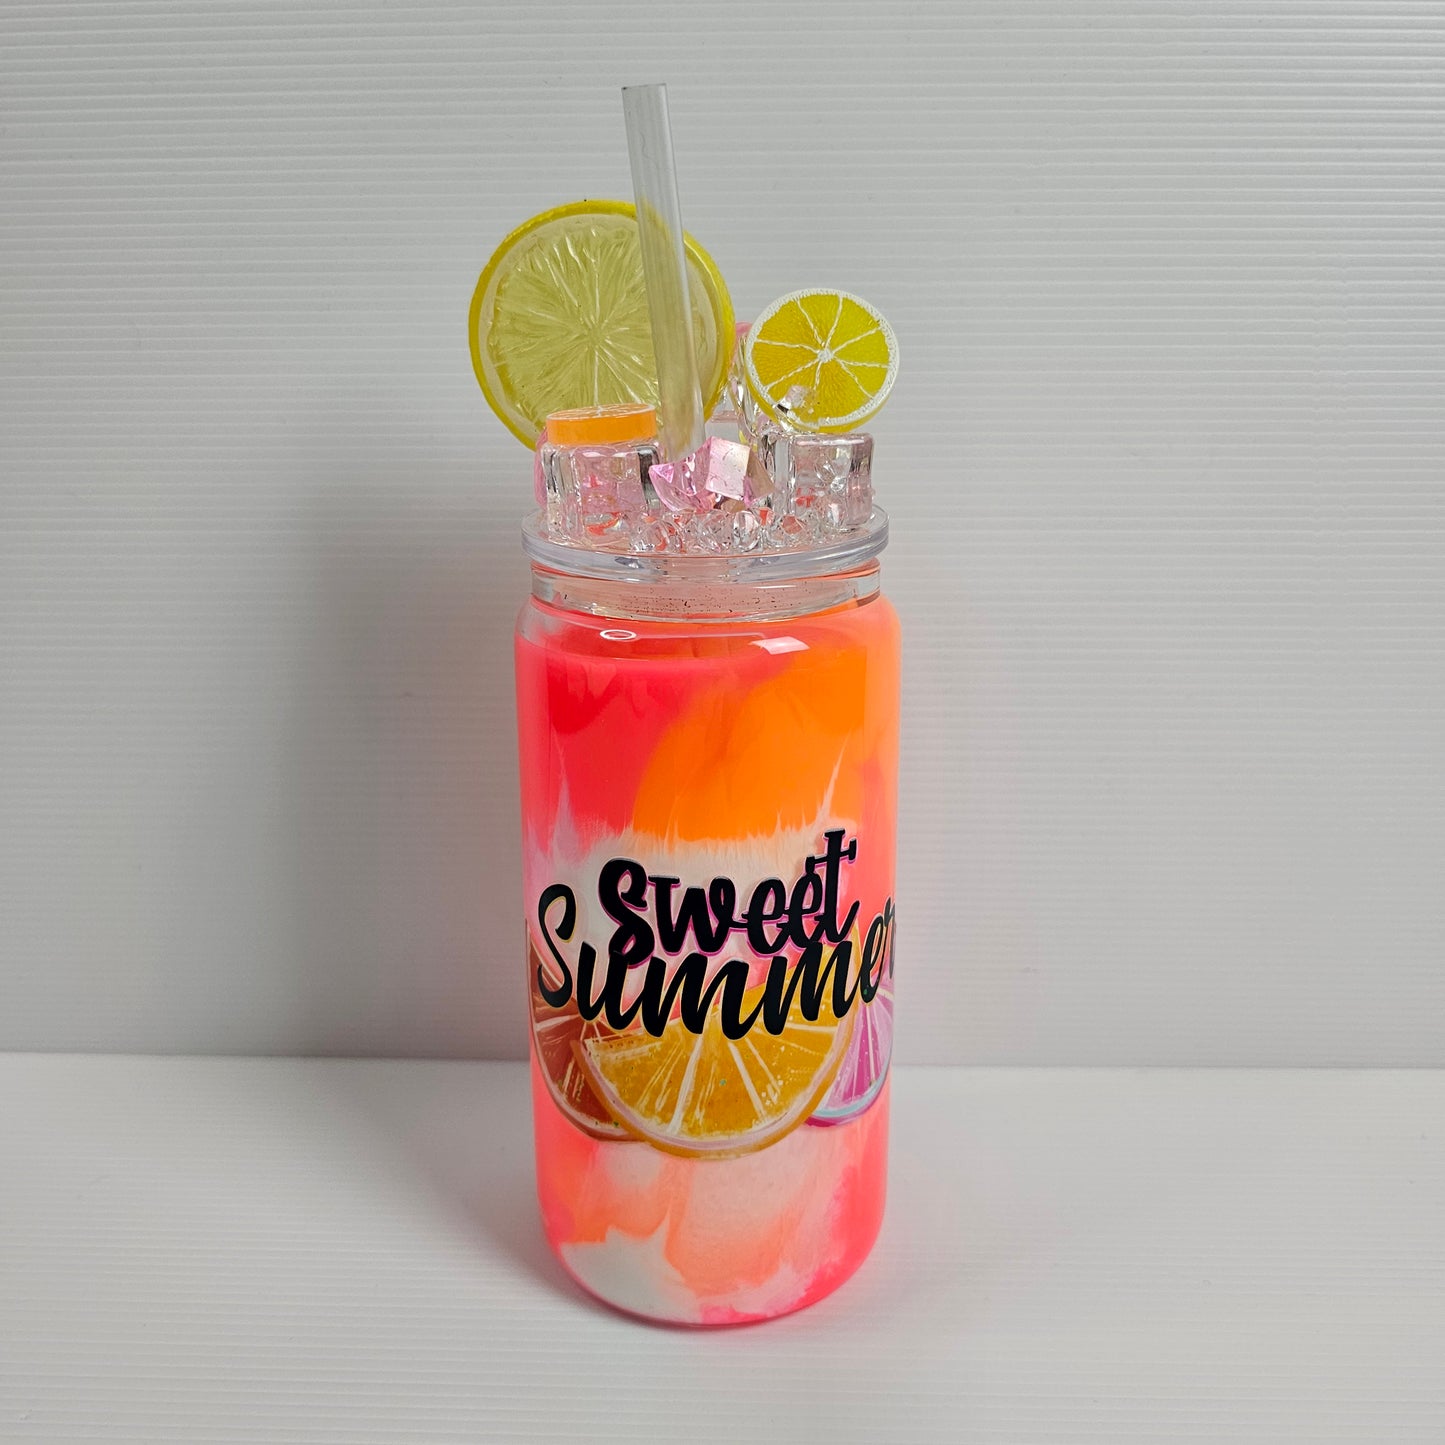
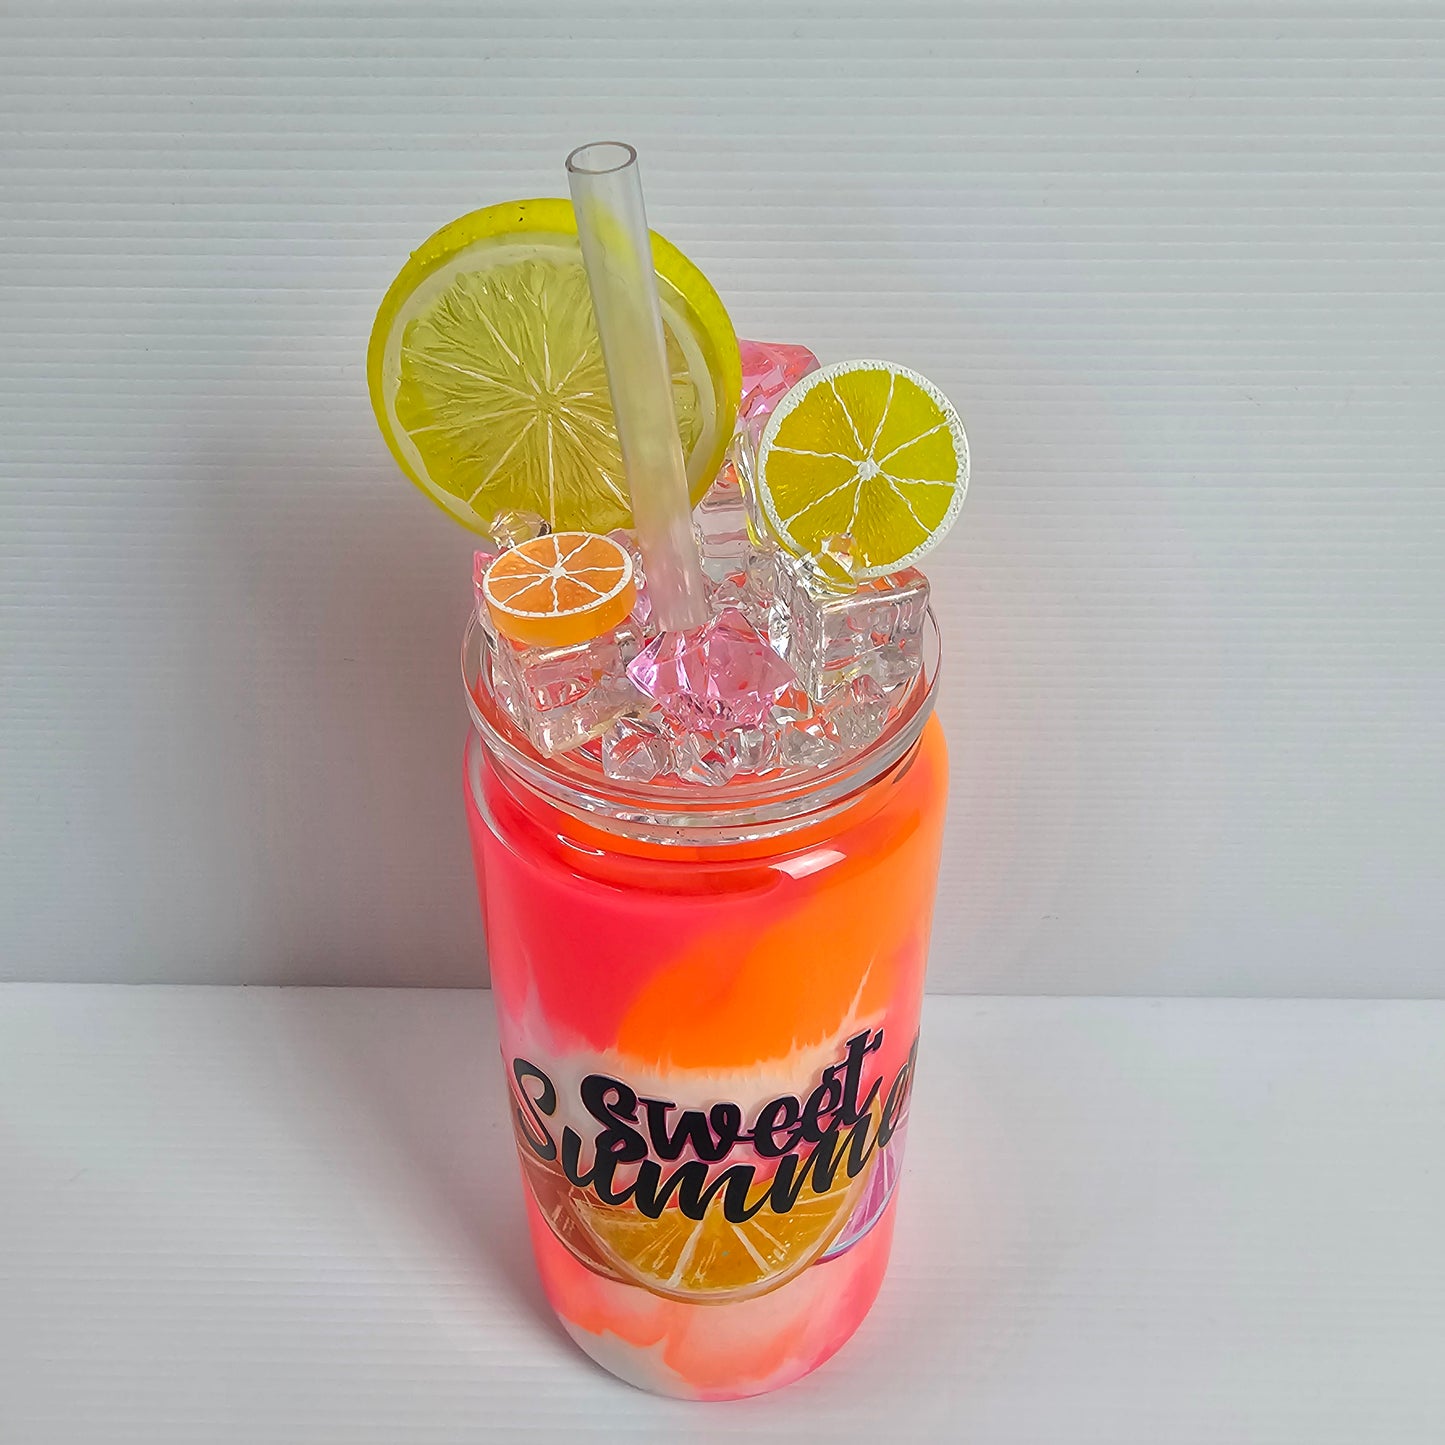
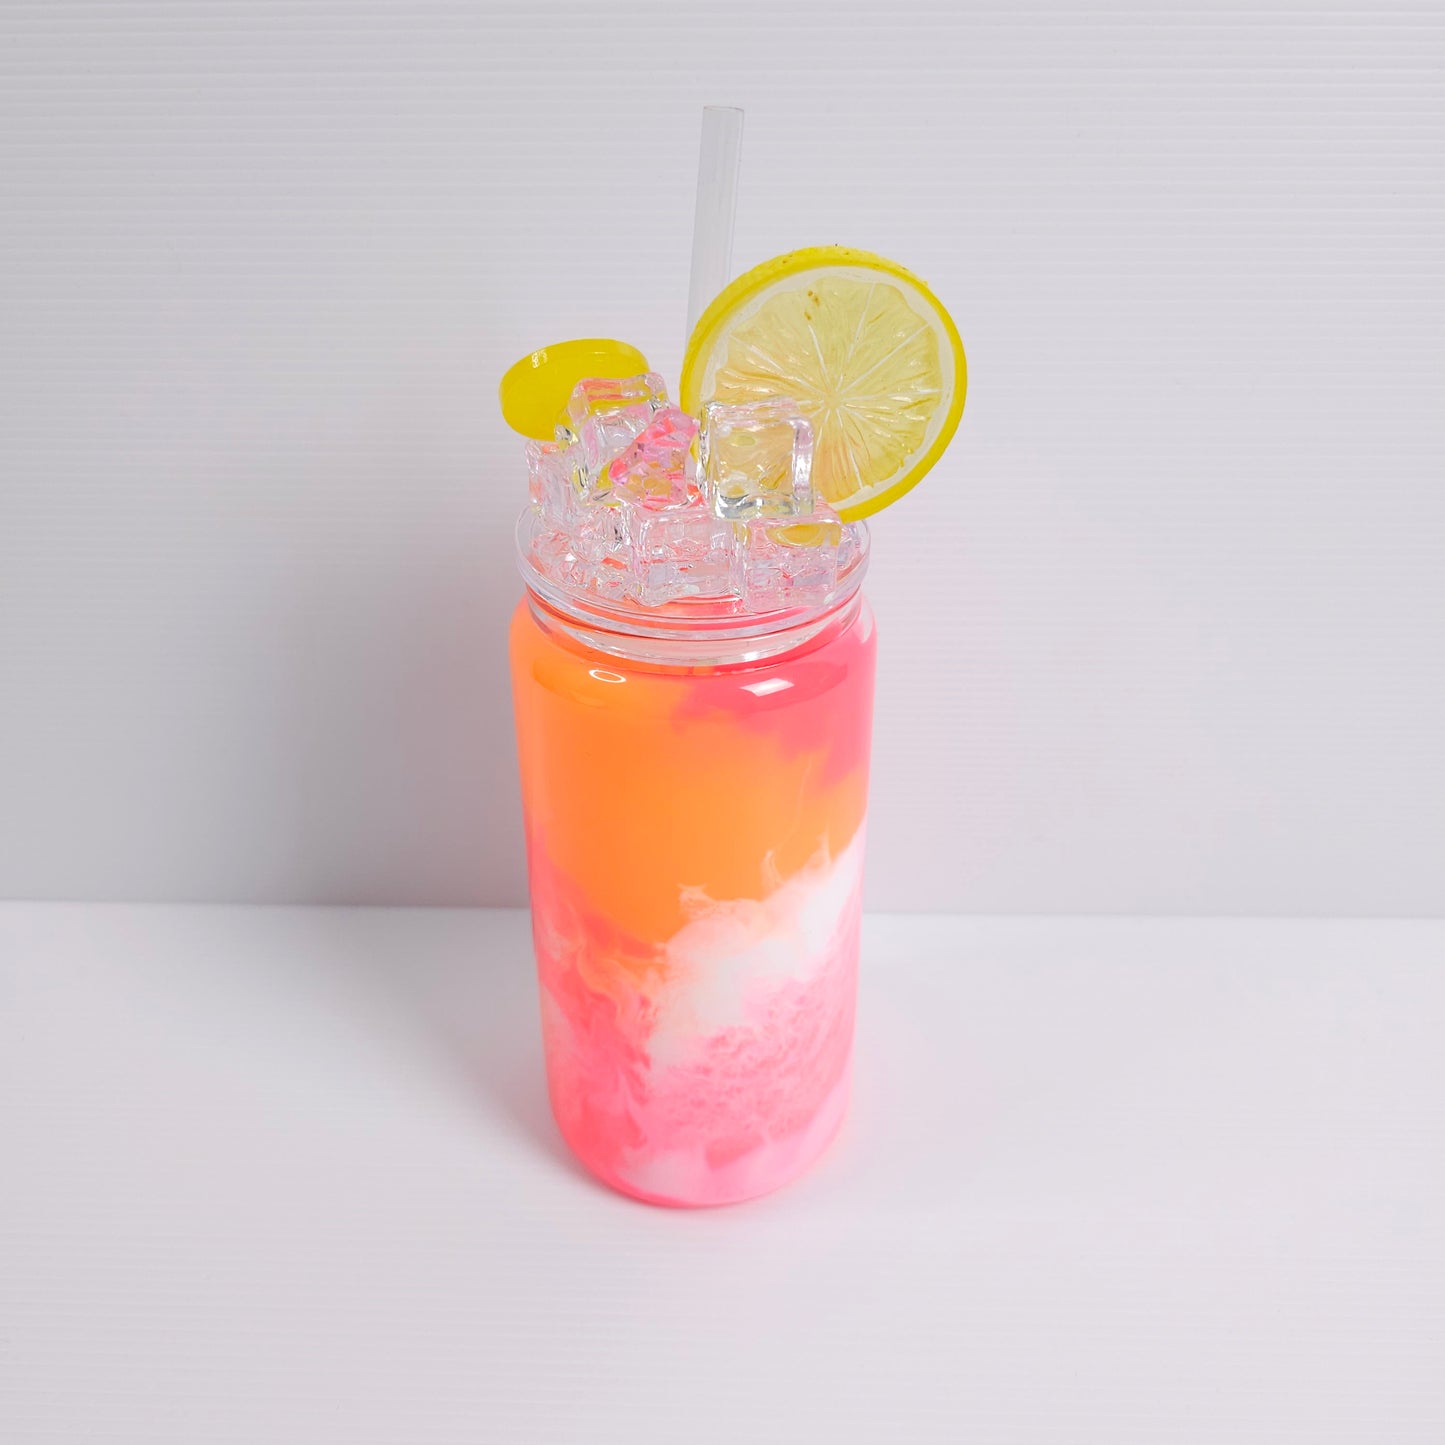
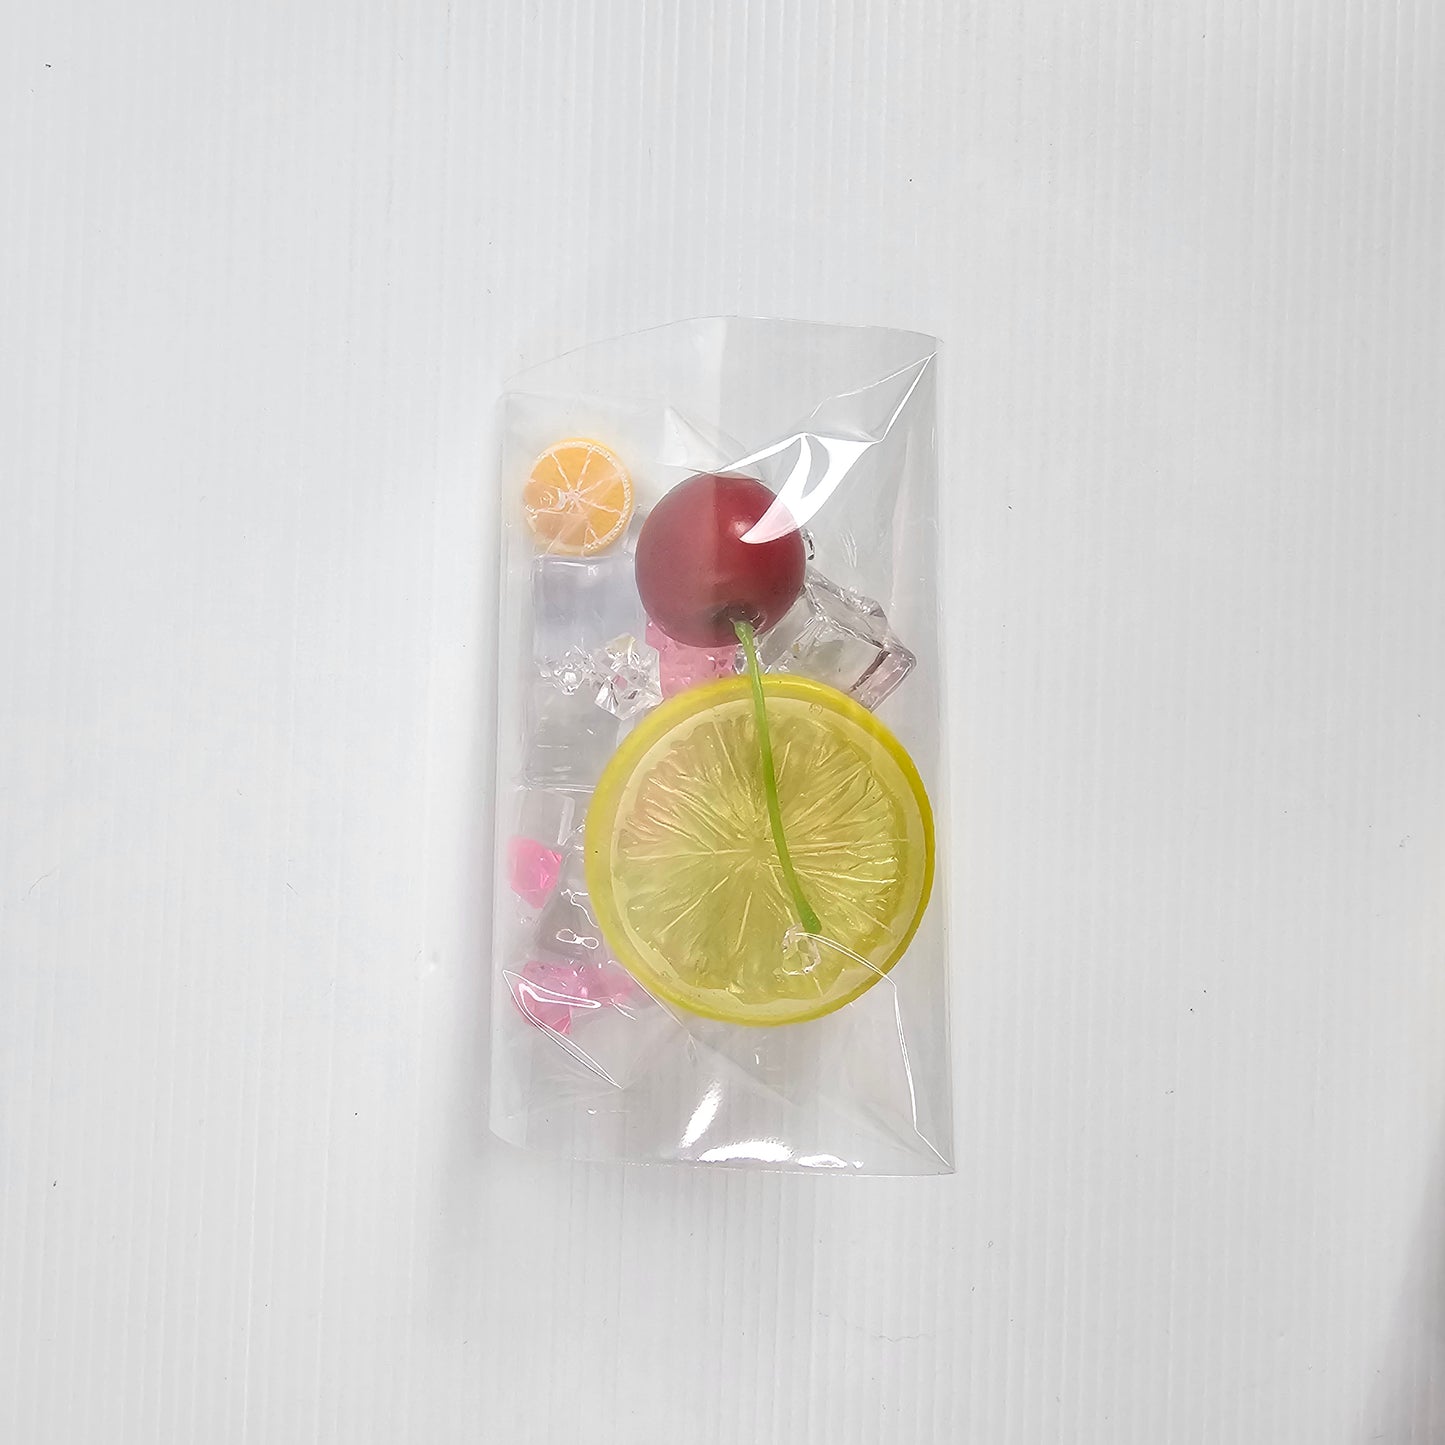
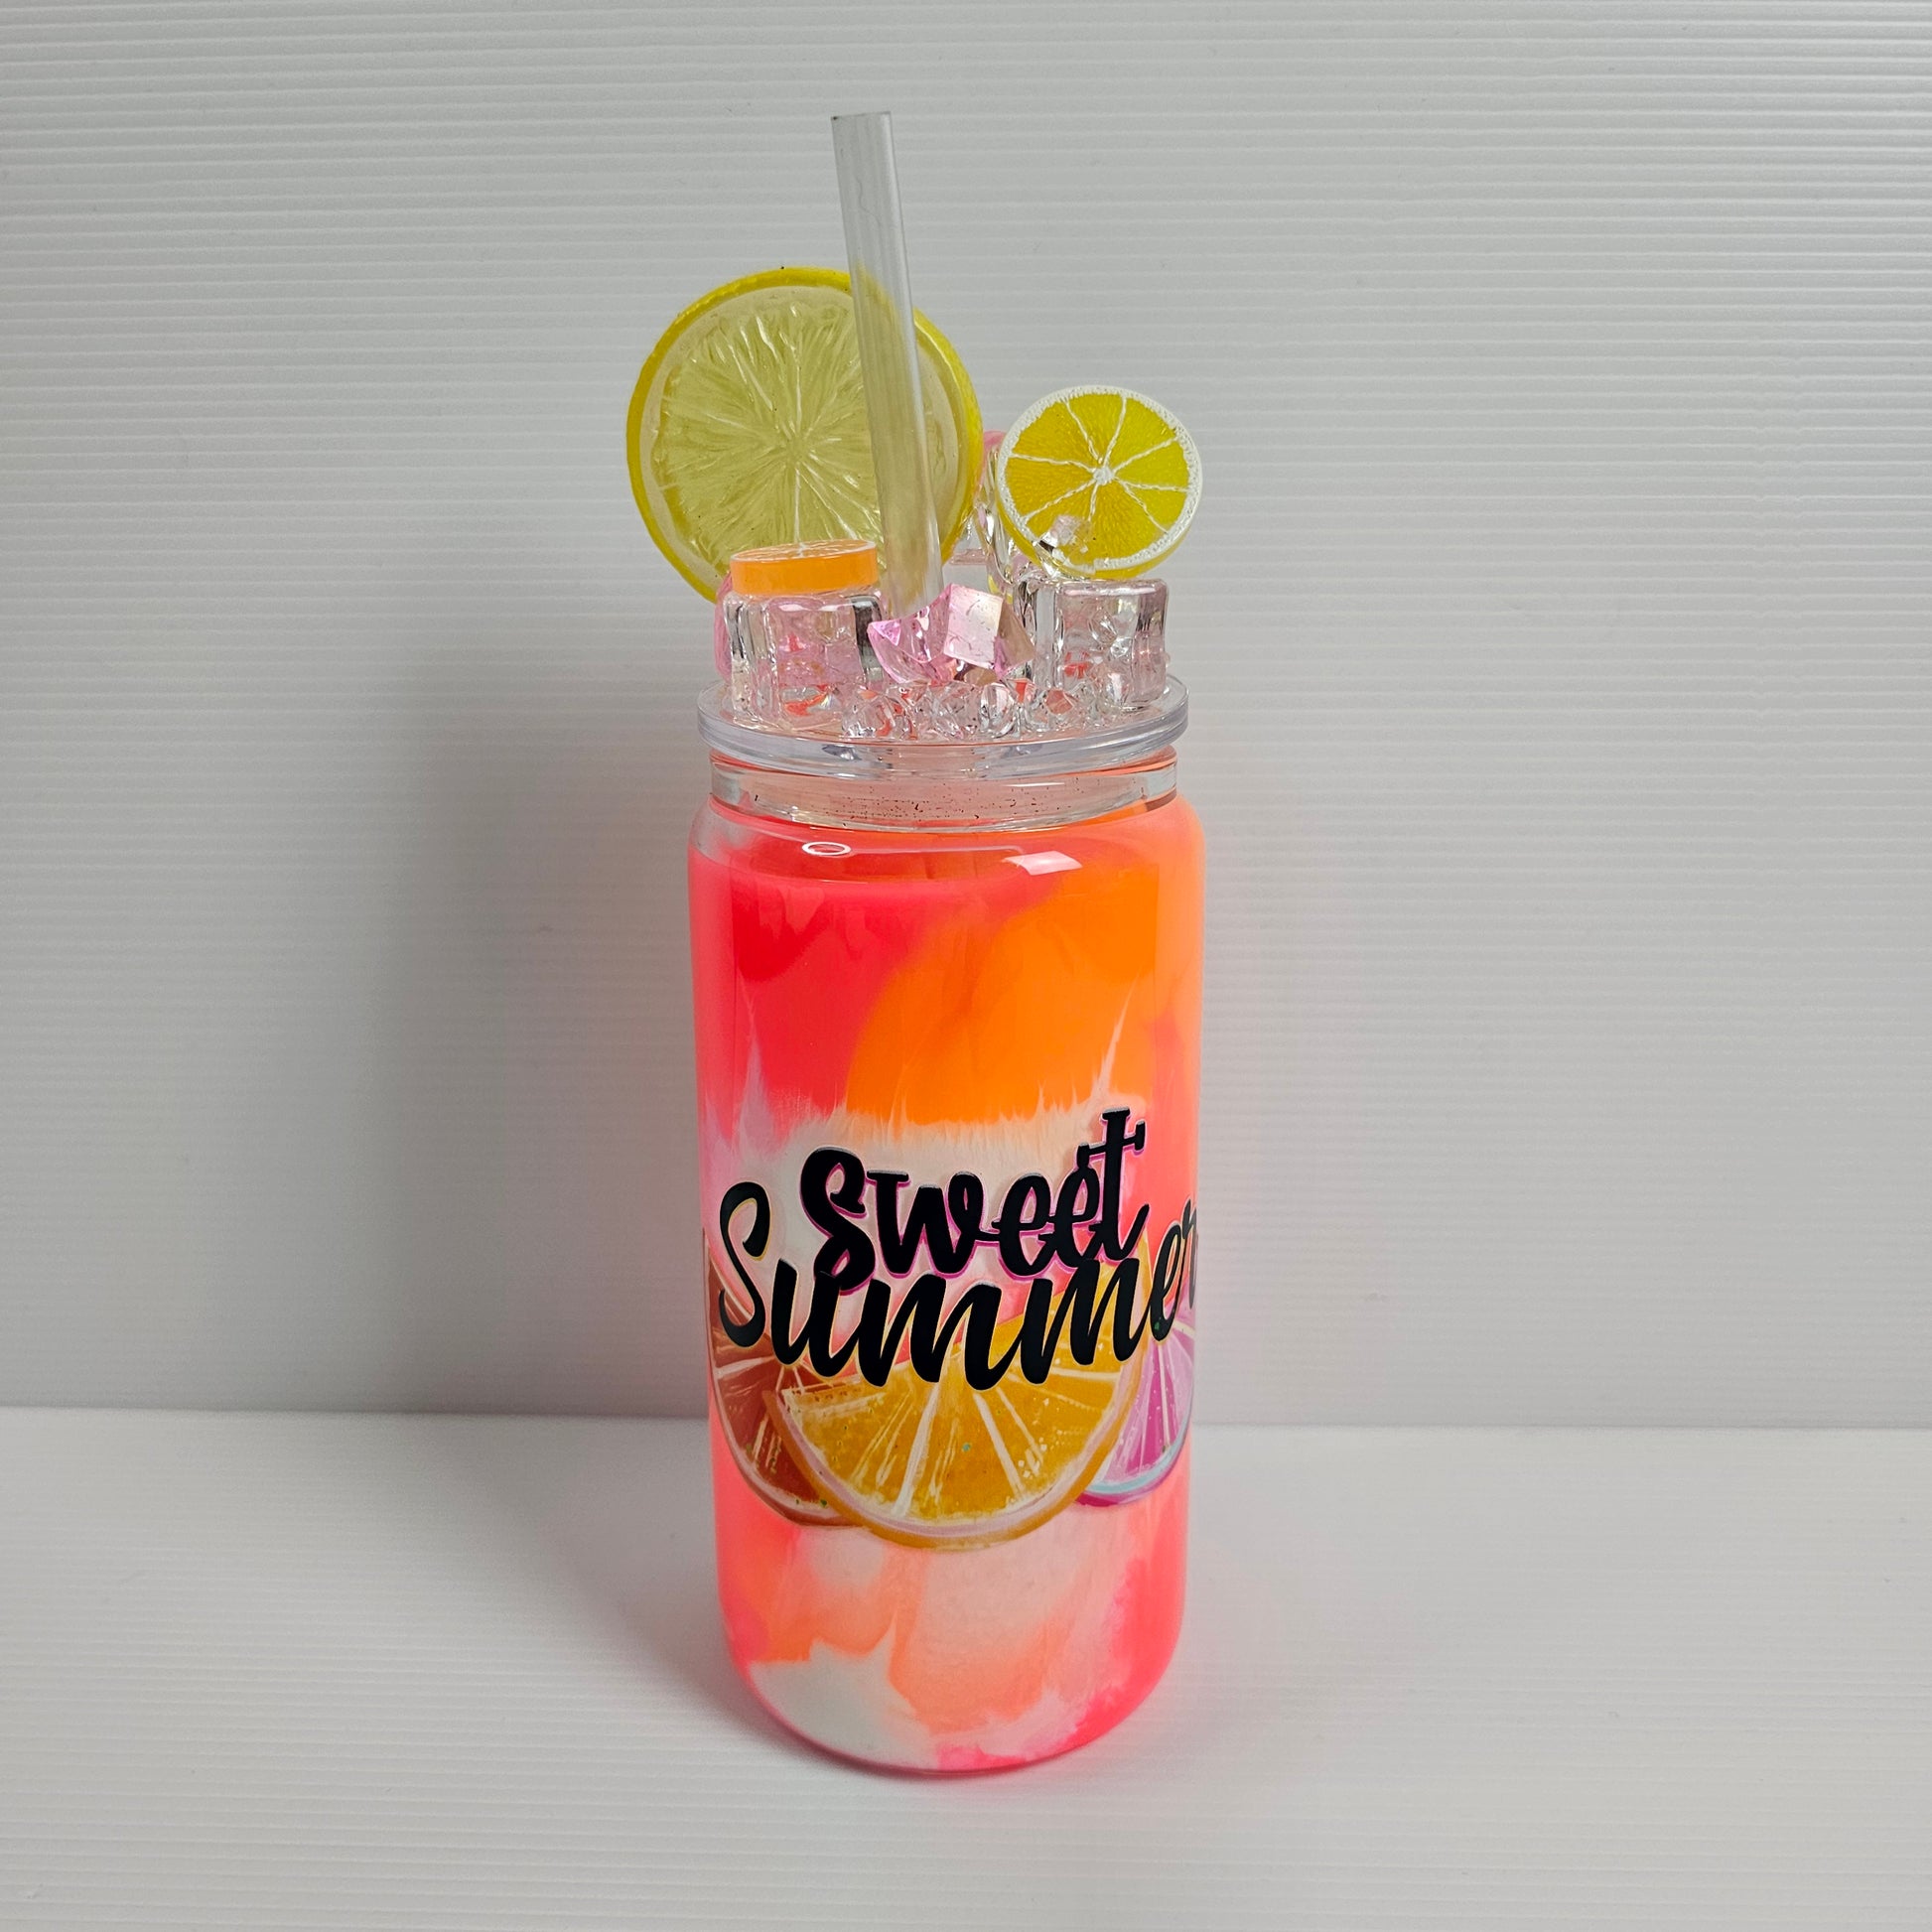
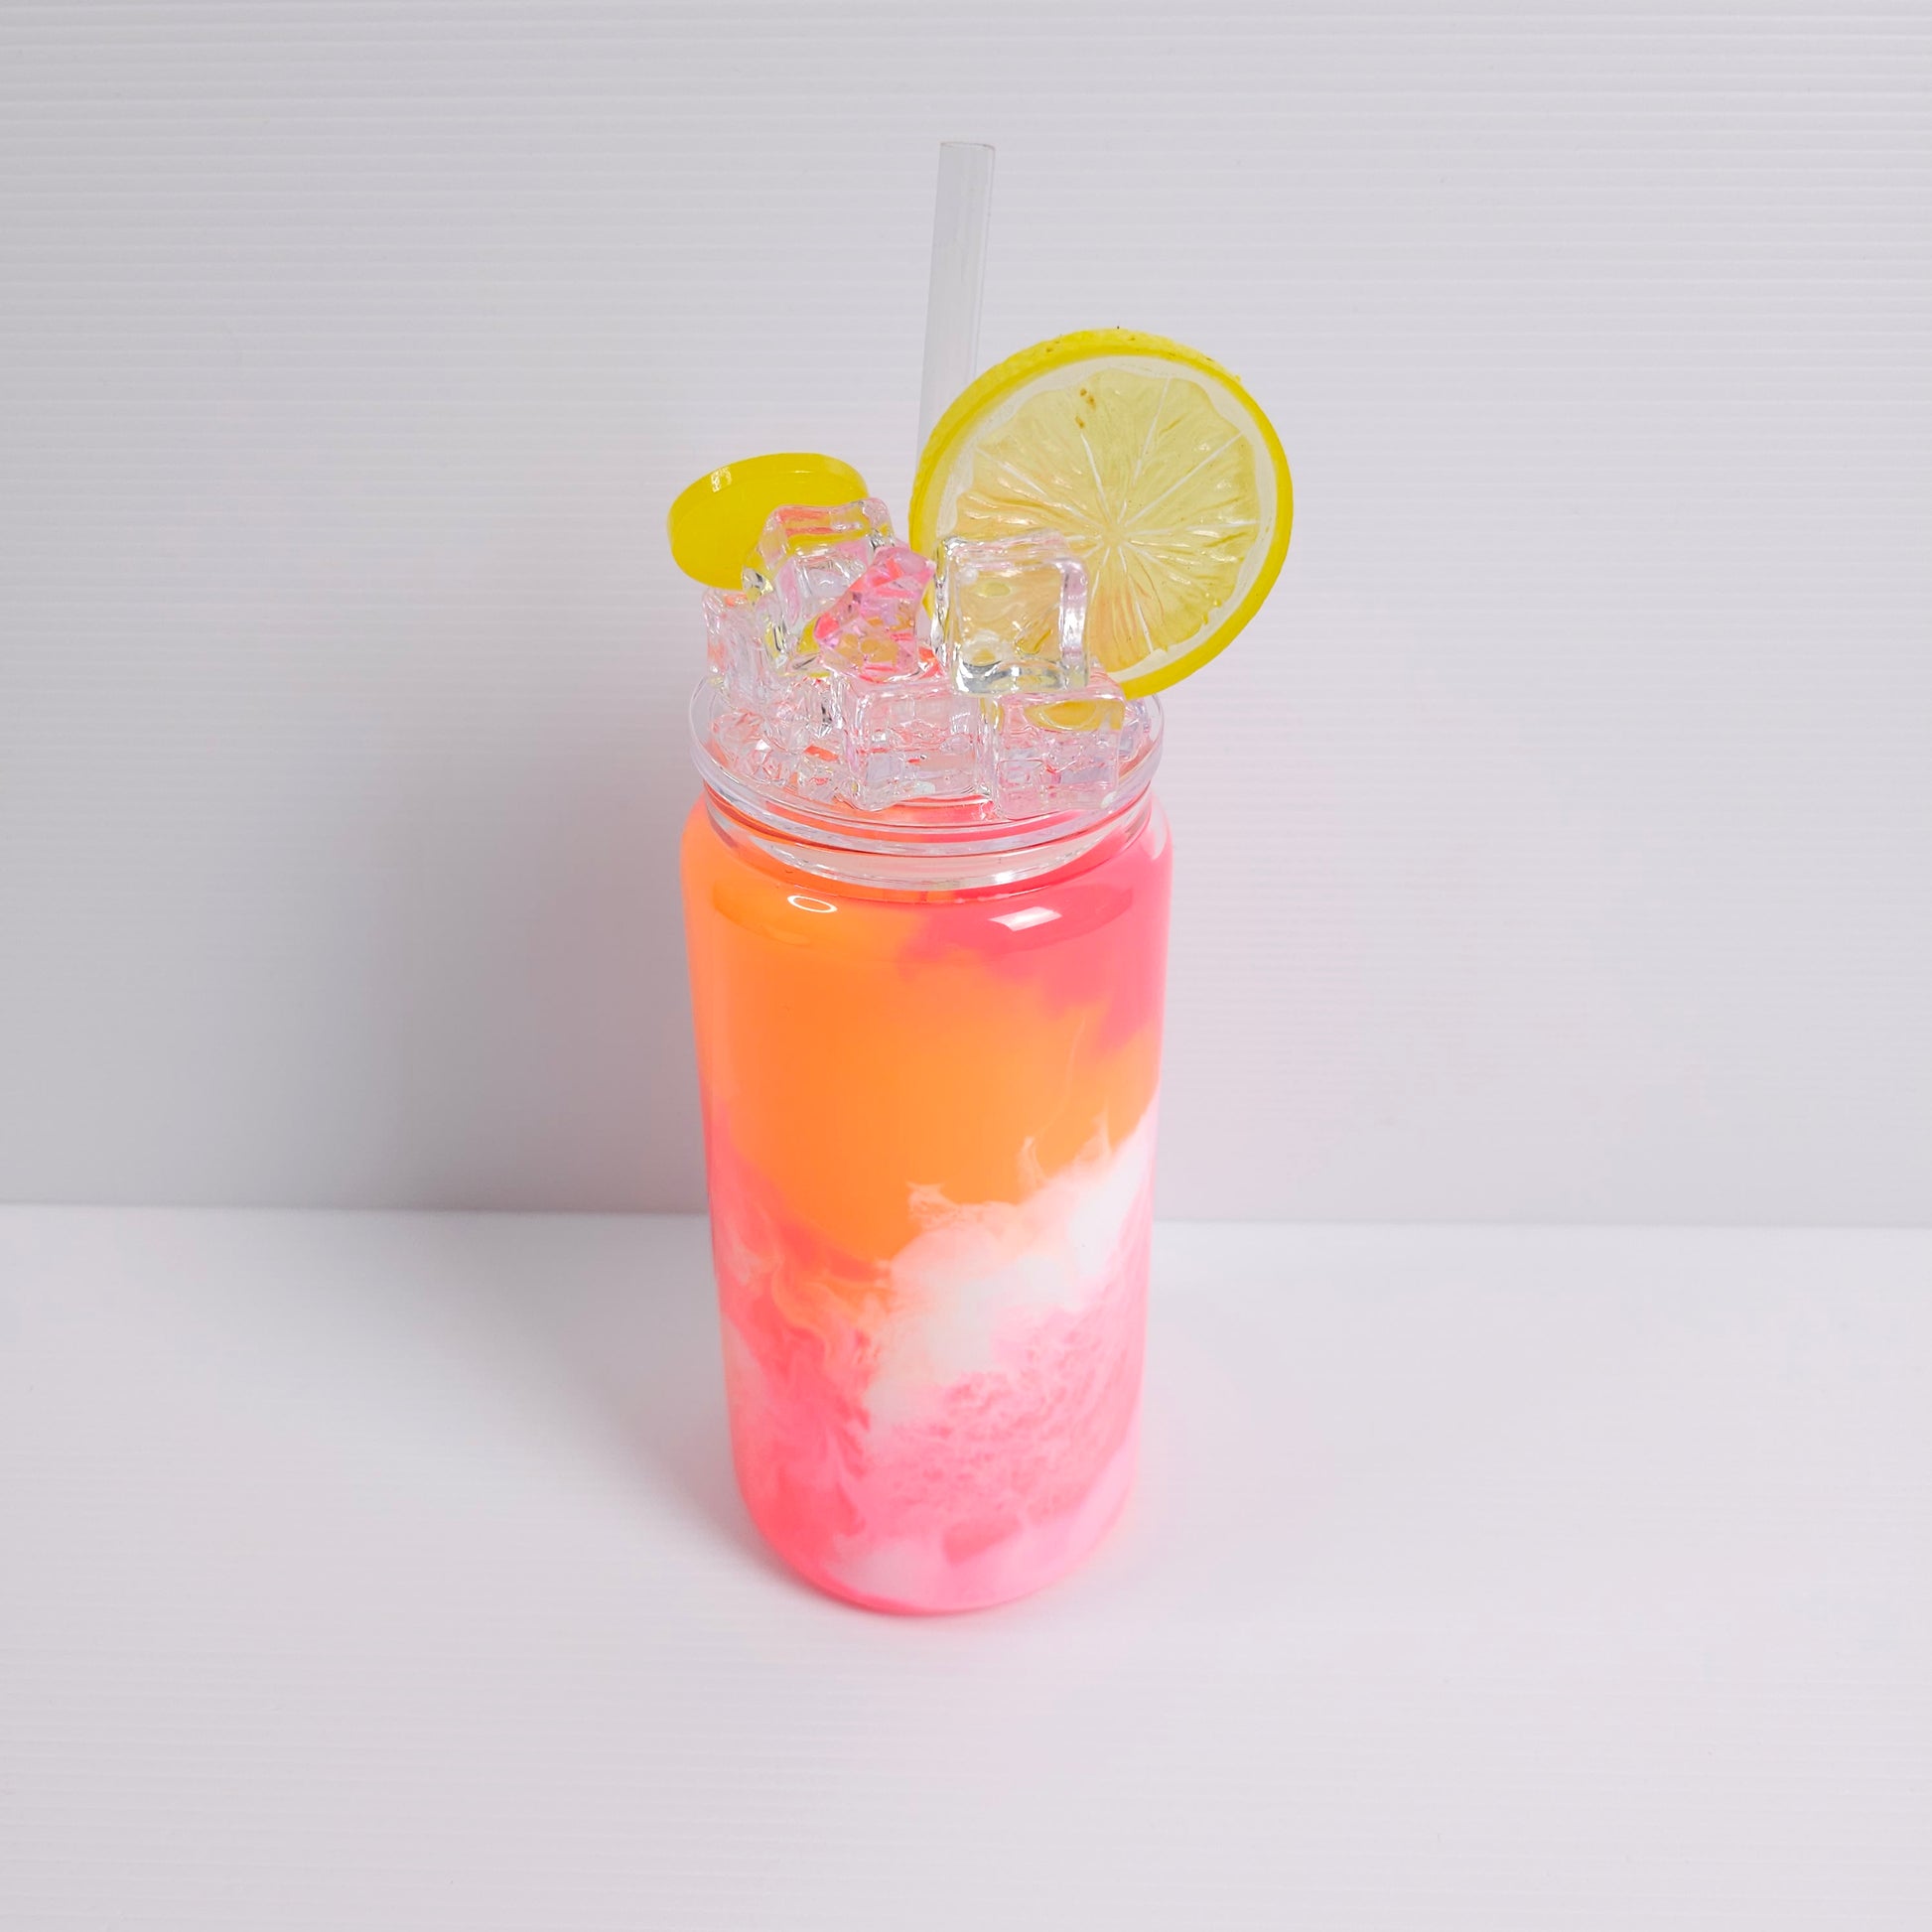
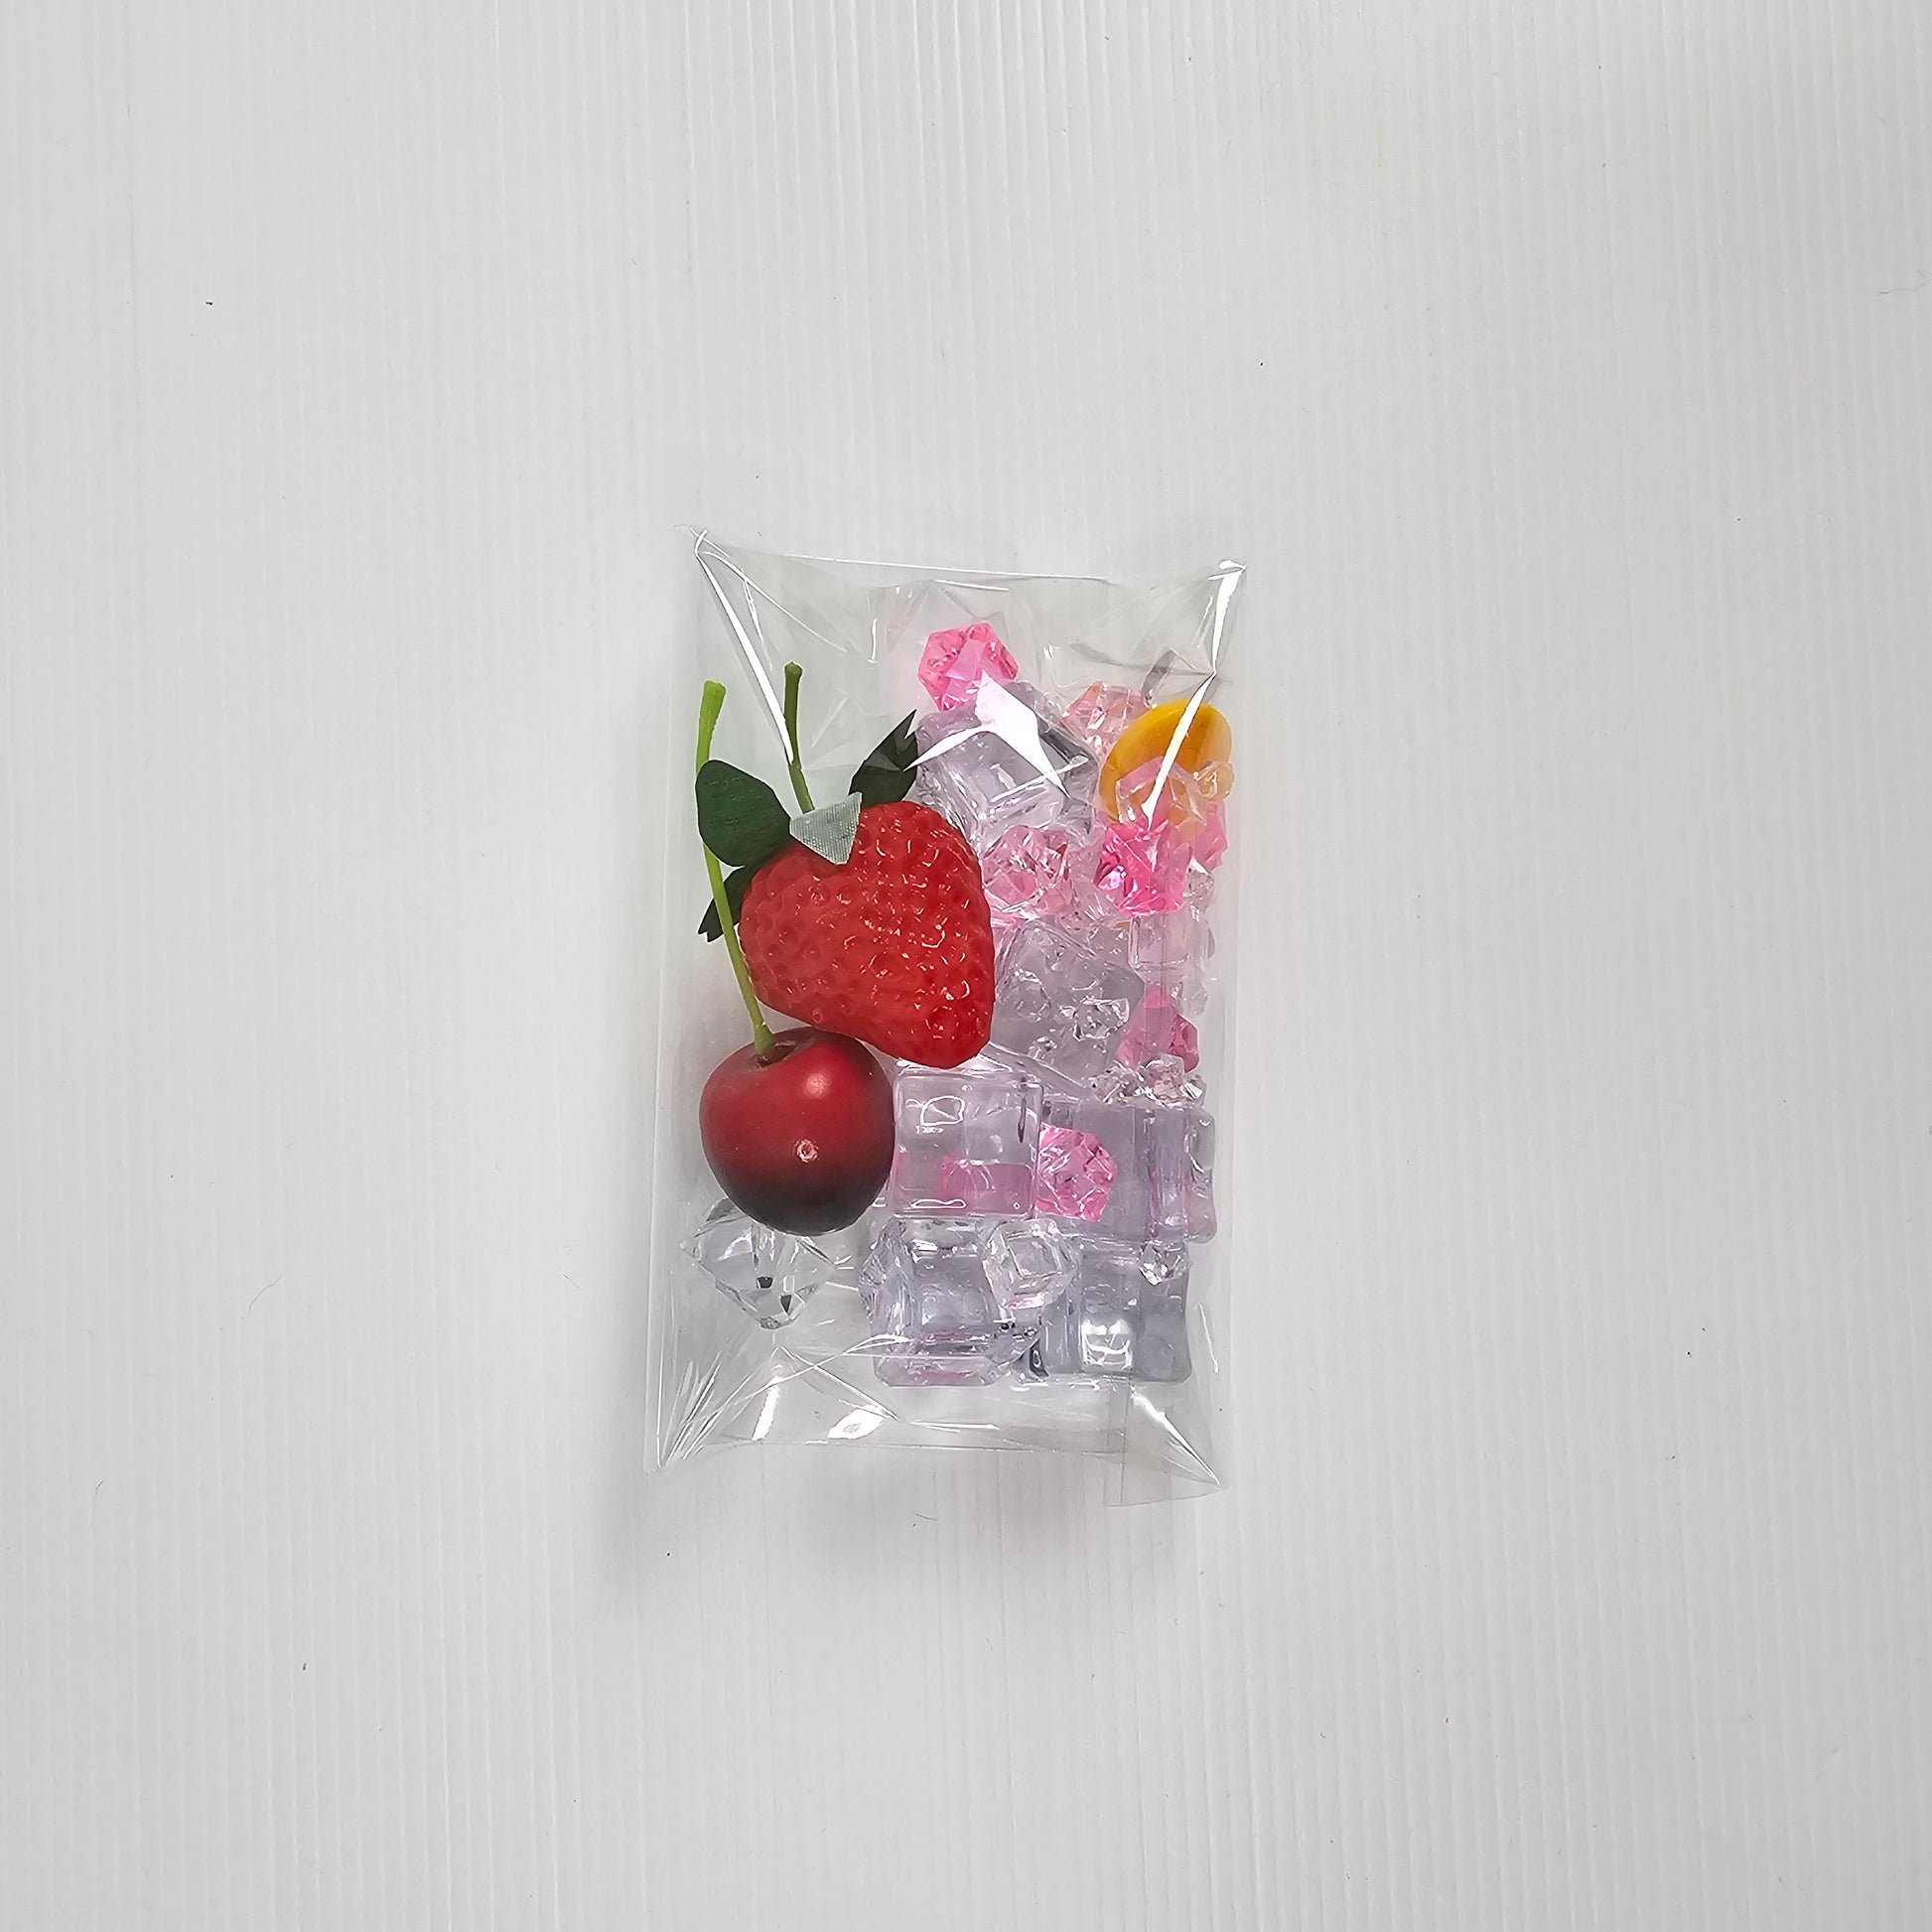
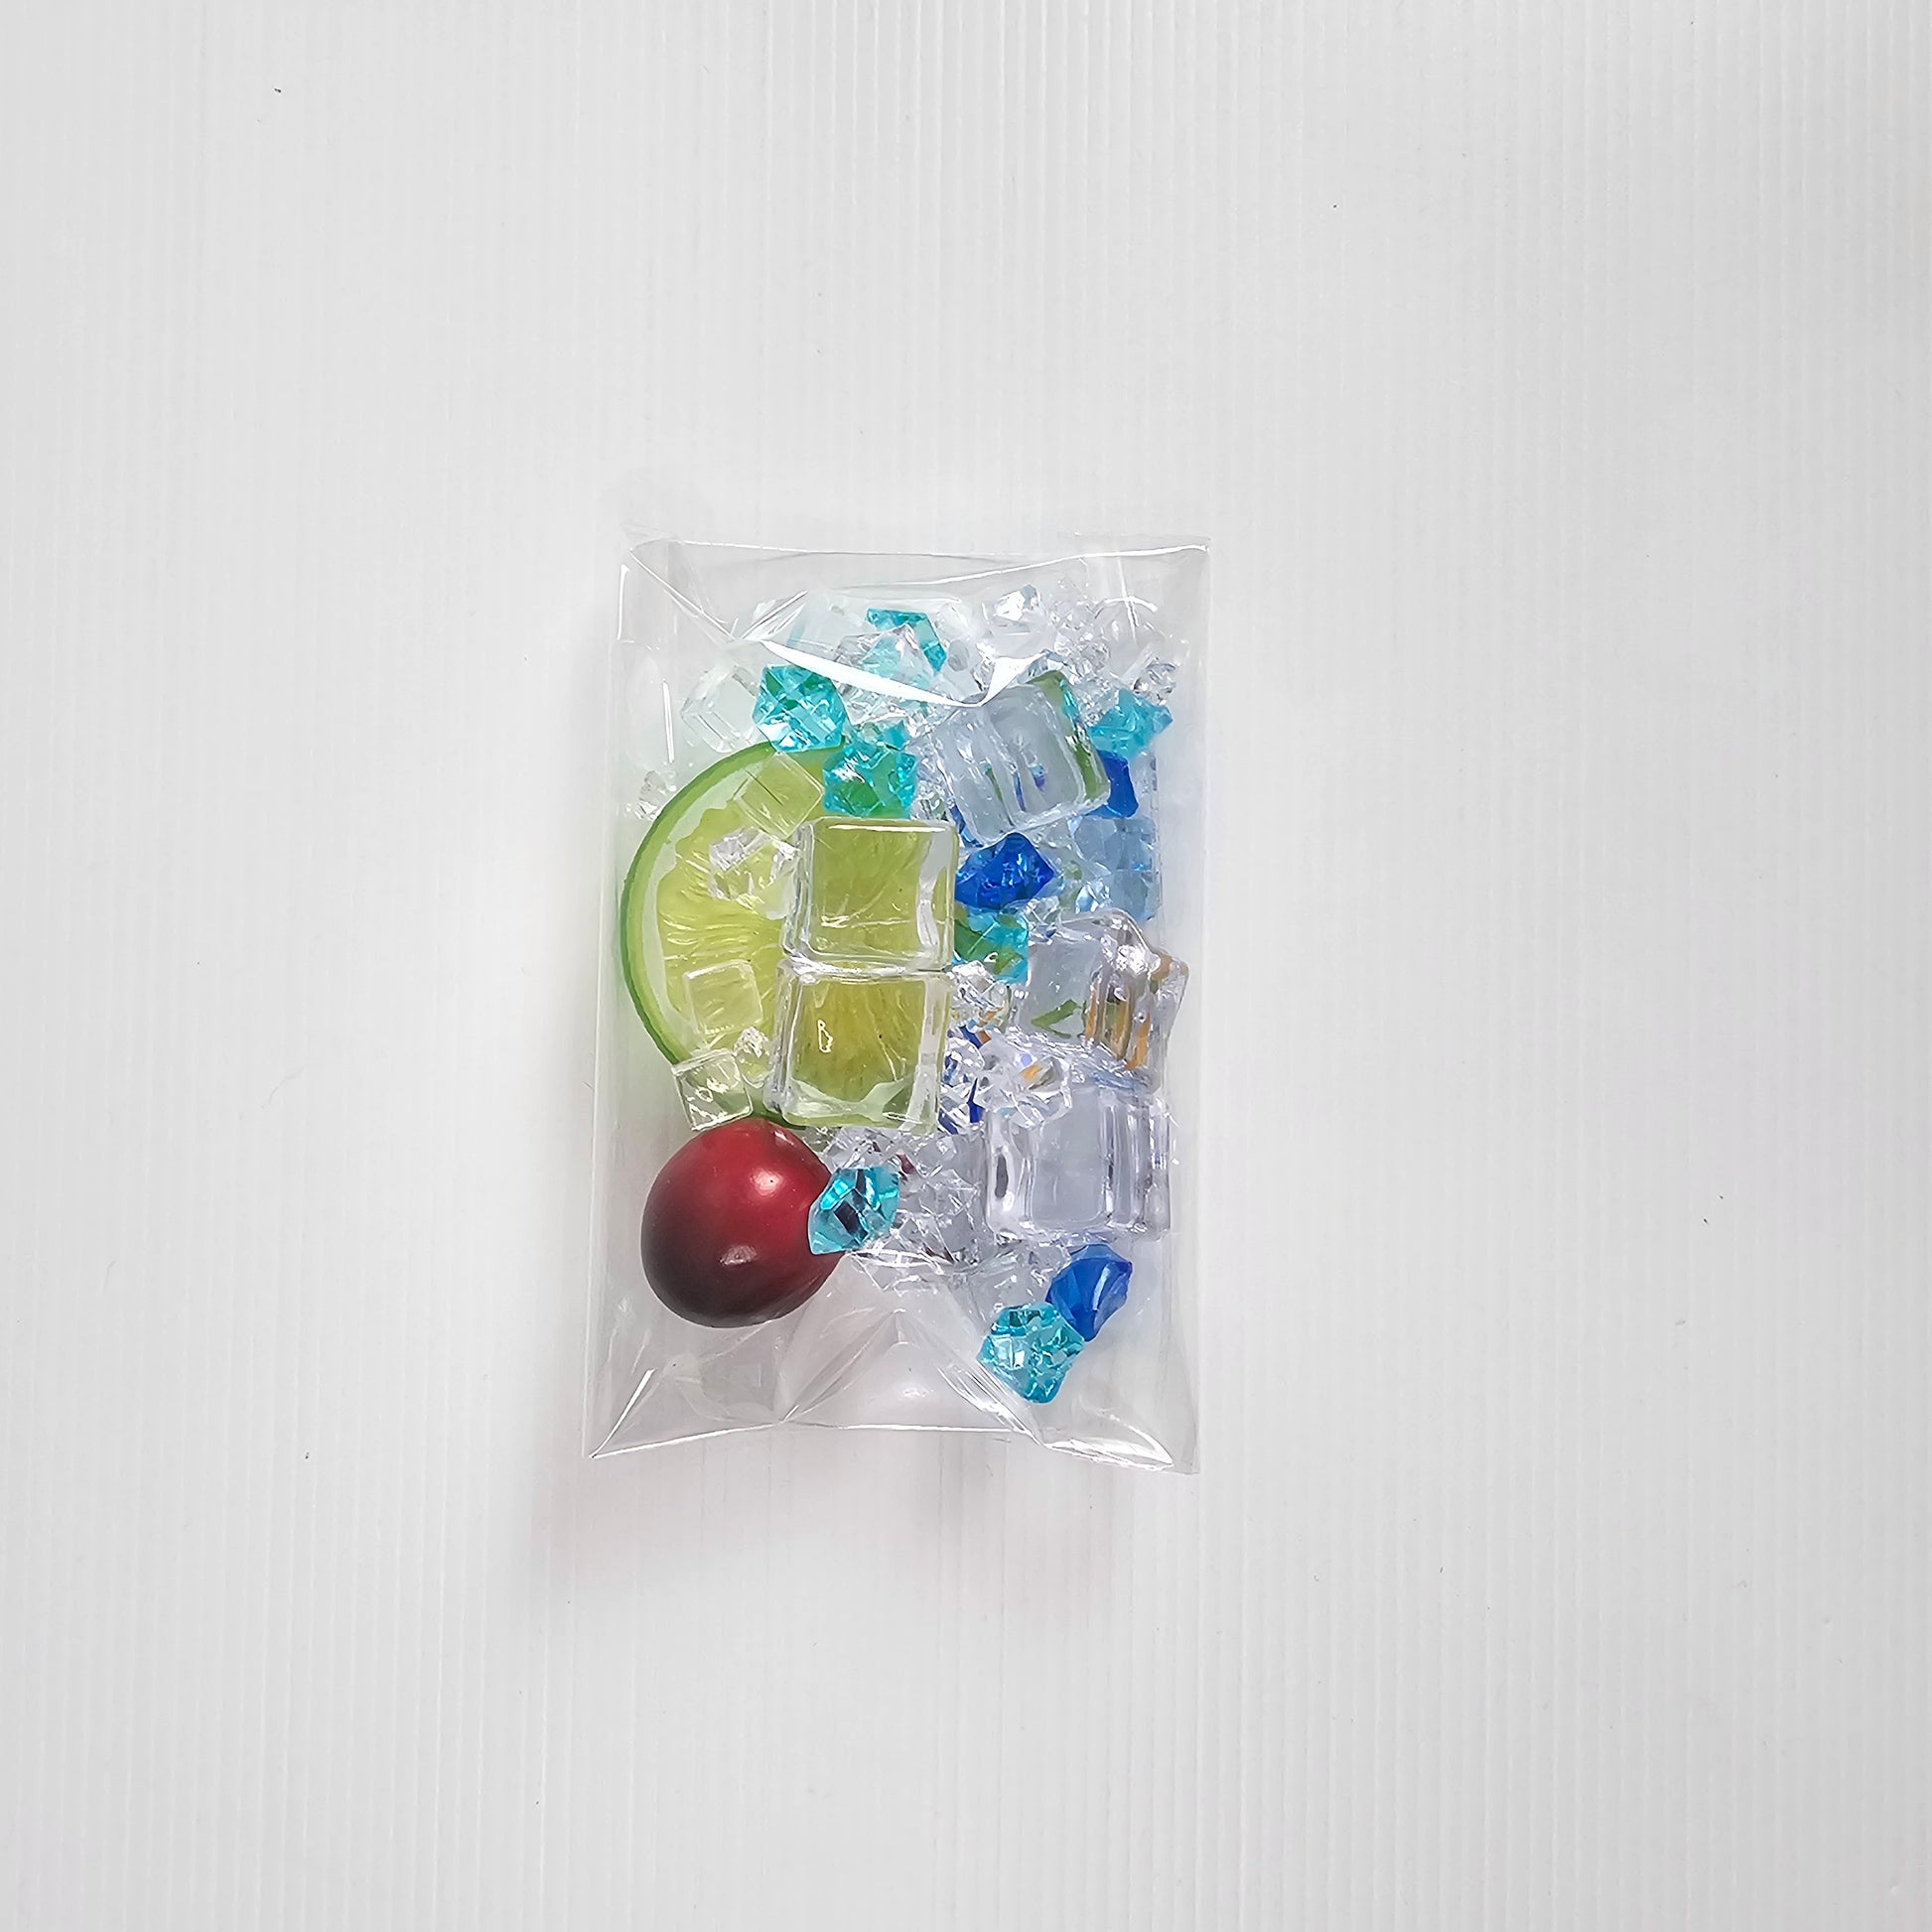
Elevate your tumbler with these stylish acrylic topper Kits! Designed to add a unique, personalized touch to your favourite drinkware. Whether you're sipping iced coffee, lemonade, or your favourite cocktail, these toppers are the perfect accessory for you to make your tumbler stand out. Each kit may vary but each includes Ice cubes in a variety of sizes, coloured ice chips and 3 pieces of fruit.
Each topper sits securely on the top of your tumbler, creating a fun 3D effect while also helping to keep your drink covered and spill-free. Easy to clean and designed to last, these toppers are a must-have for any tumbler enthusiast!
Note: Tumbler & lid not included, Shown on a tumbler for reference. Tumbler must be purchased separately. UV Resin & UV light used to hold pieces in place also not included.
Important: Contains small parts and beads. Not suitable for children or babies.
Couldn't load pickup availability
Materials
Materials
UV DTF (Direct-To-Film) stickers are a type of sticker that is printed using a UV DTF printer, which deposits ink onto a film. While these stickers can be used on a variety of surfaces, including paper, metal, plastic, and glass, they are not suitable for use on fabrics.
The main reason for this is that the ink used in UV DTF printing is not designed to bond with fabric fibers.
Compatible with the following: Paper, metal, plastic, and glass, they are not suitable for use on fabrics.
Dimensions
Dimensions
Size: Approximately 11.5cm Wide x 24cm Long
Thickness: 5 µm
Care Instructions
Care Instructions
Please hand wash only.
Do not put in the dishwasher or microwave.
We are not responsible for application mishaps.
Please note that not all brands of 16 oz. glass cups have the same
measurements. Our wraps are measured to fit Libbey glass cans, so adjustments may be necessary.
How to use
How to use
1. Clean the surface: Start by cleaning the surface where you plan to apply the decal. Use a lint free cloth and rubbing alcohol to remove any dirt, oil, etc that may be present. Allow item to air dry before applying.
2. Peel away the backing: Gently peel the backing paper off the decal. Be very careful not to touch the adhesive side of the decal, this can leave fingerprints or marks on your transfer.
3. Carefully position the decal: Carefully position the sticker on the surface. Use your fingers or a scraper with a soft edge to carefully smooth out any bubbles or wrinkles that appear. Take your time to work the decal onto the surface starting from the center of the decal and working out to the edges.
4. Apply pressure: Once the decal has been placed onto the surface use finger tips to apply pressure throughout the design. This helps ensure a solid bond between the transfer and surface.
5. Remove clear carrier sheet: Gently peel clear transfer (carrier) sheet away from surface. Work slowly to ensure you don't pull up the decal from the surface. If the decal does pull up, just push it back down and rub decal to surface with firm pressure before trying to remove again.